Combined Image Search with Content Folder and Time Filters
Teams rarely fail at image search because they lack tools. They fail because the workflow is inconsistent: one person searches by filename, another by folder memory, and a third by visual hints. A repeatable process around combined image search workflow solves that inconsistency and turns searching into an operational capability.
As libraries grow, filename-only methods break down quickly. Exports, revisions, language variants, and copied project folders create noise that no naming policy can fully eliminate. The practical answer is to combine visual evidence, folder context, and time boundaries in one controlled search loop.
This guide gives you a field-tested, local-first workflow that covers indexing, search entry, result refinement, and reuse governance. It also maps decisions to common scenarios such as content retrieval, folder filtering, time windows, multi-condition refinement, so teams can apply one method across different workloads.
Why combined image search workflow becomes unstable at scale
Most teams hit the same structural problems:
- Undefined search scope: users do not decide what “success” means before searching.
- Inconsistent indexing rules: each member adds folders differently, so results drift.
- Wrong filtering order: people browse first and filter later, wasting time.
- No reuse closure: once an image is found, it is not moved into a reusable collection.
If you want stable outcomes, define three repository layers first: high-frequency reusable assets, active project assets, and historical archives. With this baseline in place, combined image search workflow becomes measurable and predictable.
Run combined image search workflow in four steps
Step 1: start with a small indexing scope
Index one to three high-value folders first instead of scanning every drive at once. Use the first-time setup guide for first setup and the gallery management guide to standardize folder governance.
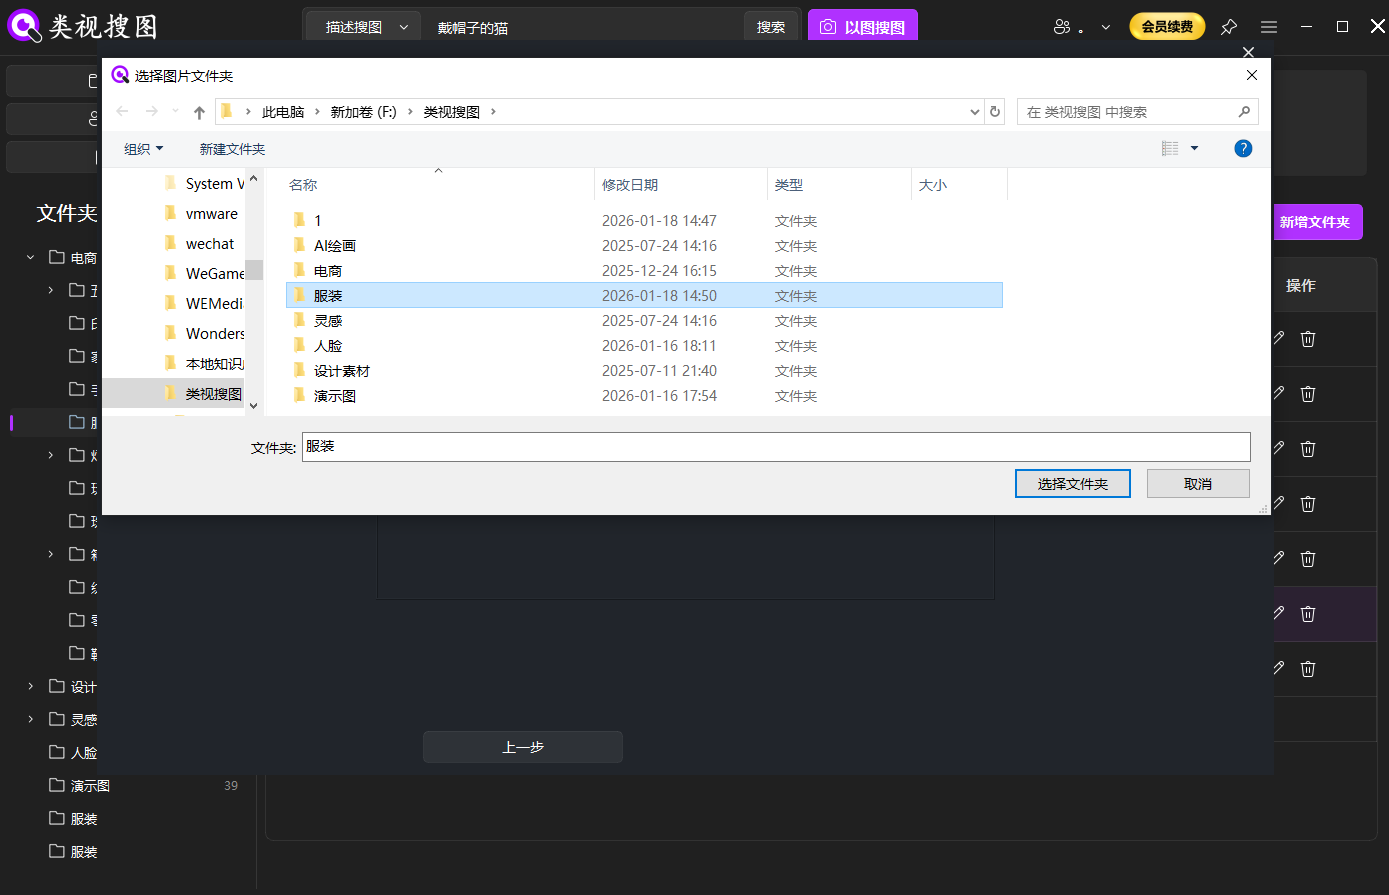 Caption: limit first indexing to high-value folders to improve first-screen precision.
Separate reusable assets from temporary exports before indexing. This single decision removes a large amount of false positives from later searches.
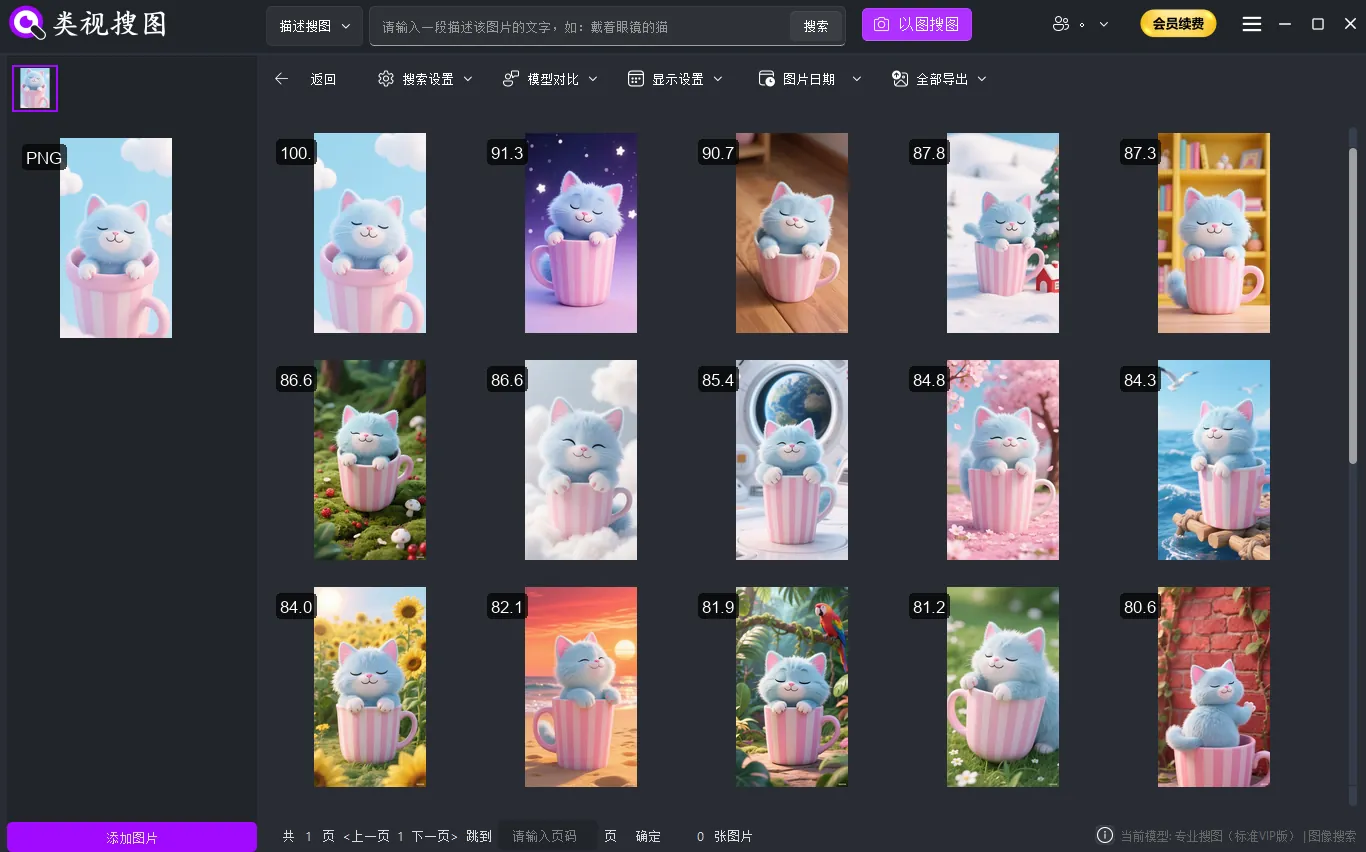
Step 2: start with a representative input
Use a clear reference image when possible. If you do not have one, start with descriptive keywords and then narrow down. When semantic interpretation matters, combine this step with the semantic search guide.
 Caption: precise input first, broad expansion later, gives faster and cleaner outcomes.
Your goal here is not to retrieve everything immediately. Your goal is to establish a high-confidence anchor and then expand safely.
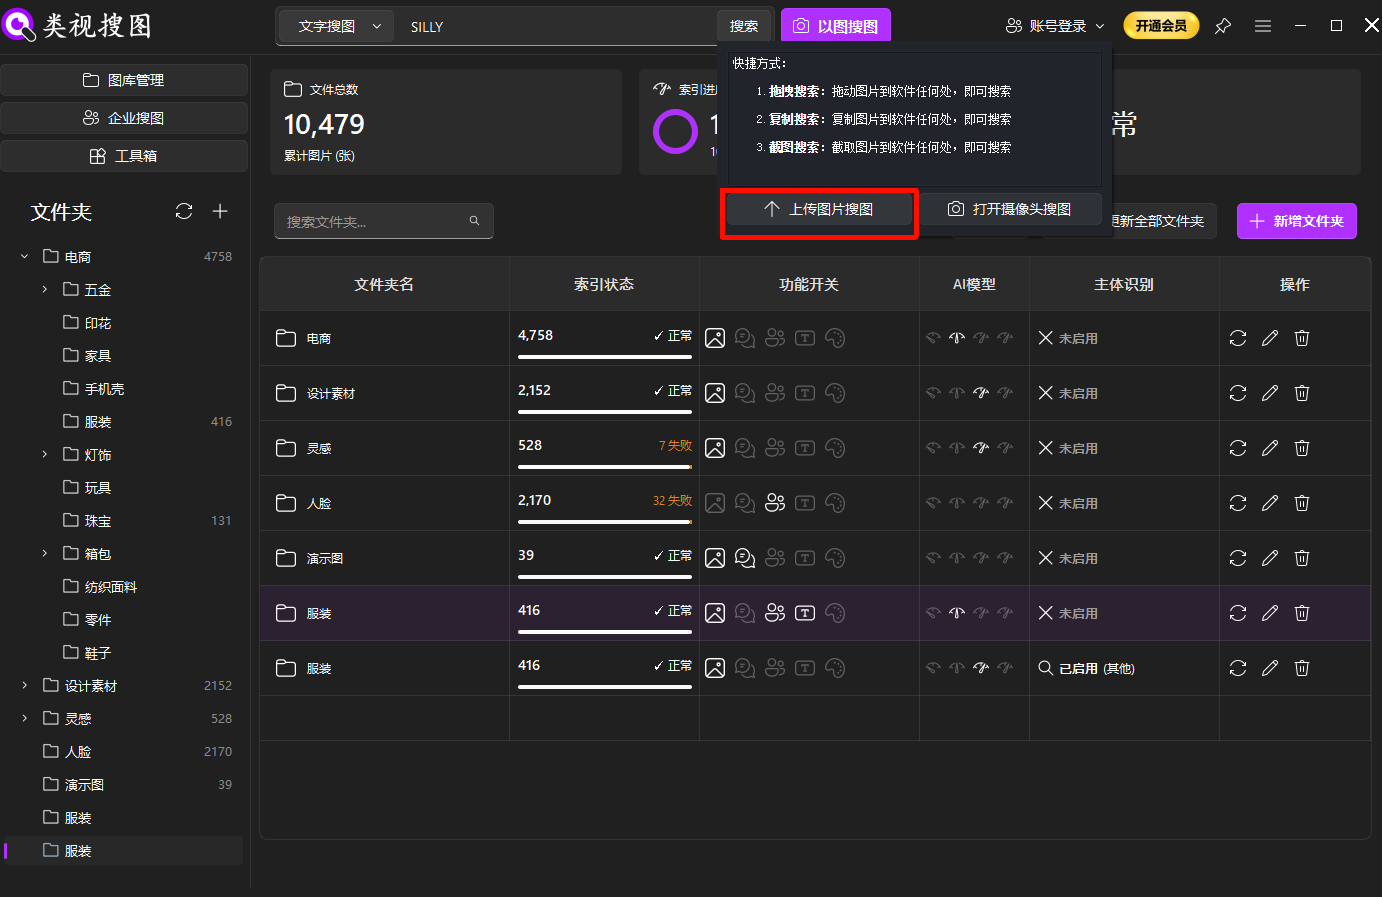
Step 3: refine in fixed order
In the result page, always use the same sequence: similarity first, folder filter second, time window third. See the results browsing and filters for parameter behavior and UI details.
 Caption: fixed refinement order reduces noise and improves decision speed.
When every teammate follows the same refinement order, handoffs become cleaner, audits become easier, and repeatability improves.
Step 4: apply topic-specific validation
The core of combined search is sequence discipline: semantic direction first, structural boundaries second, time window third. This order outperforms single-condition queries in multi-project repositories.
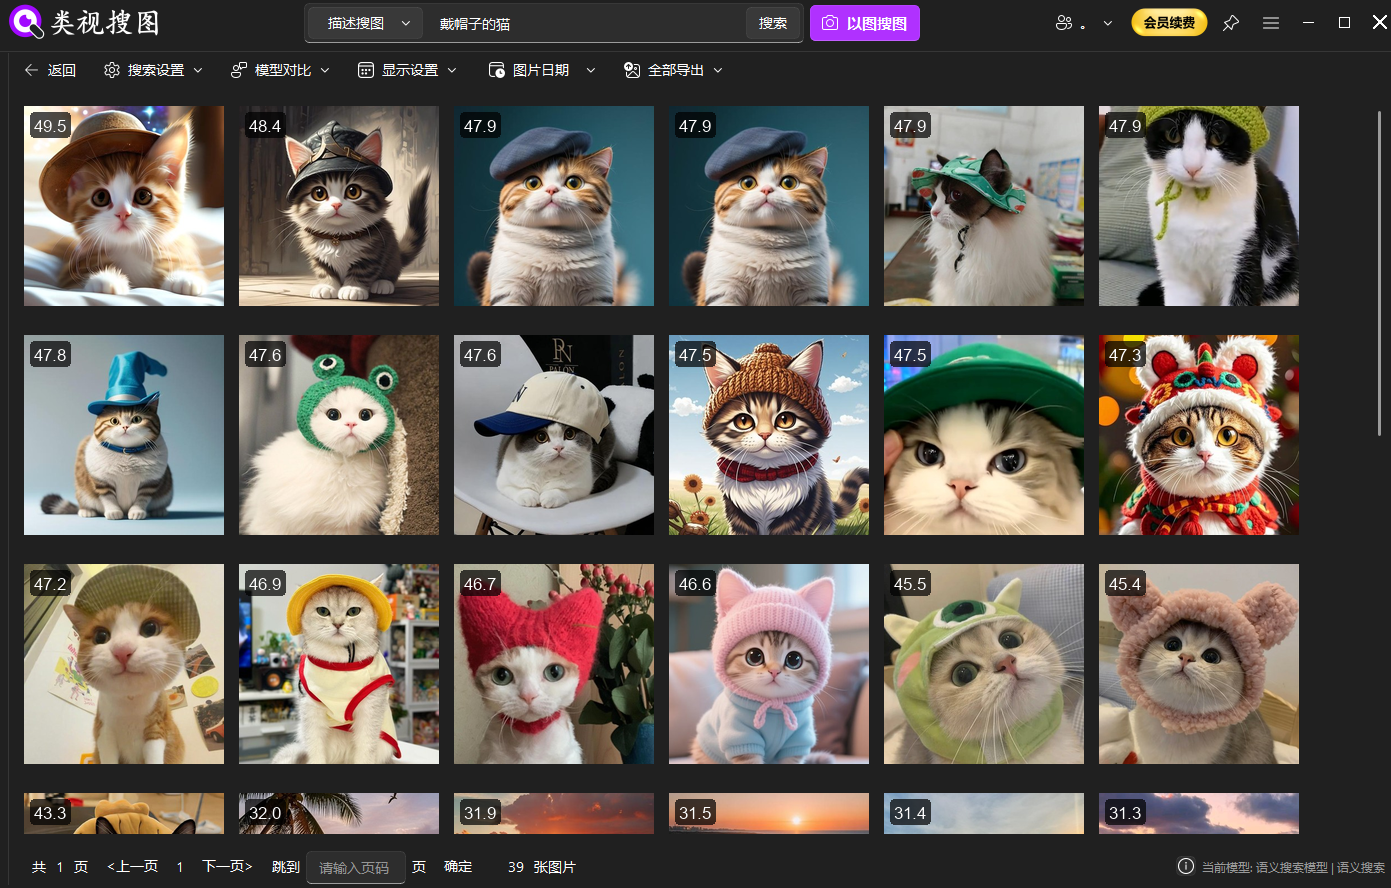 Caption: Layered refinement across content, folder, and time helps teams locate reusable assets faster.
Add a weekly sample review of 10-20 queries and track three numbers: first-screen hit rate, average locating time, and misclassification rate. These metrics show whether the workflow is improving or drifting.
Acceptance checklist for operations
Use this checklist to decide whether the workflow is truly in production:
- Every search request has a clear purpose (same-style retrieval, evidence lookup, or version recovery).
- The team uses one refinement order in the result page.
- Reusable assets are moved to a curated folder after discovery.
- A monthly review adjusts index scope and naming conventions based on metrics.
| Checkpoint | Pass Standard | Typical Failure | Corrective Action |
|---|---|---|---|
| First-screen precision | 2 of 3 searches hit target on first screen | Index scope too noisy | tighten indexed folders and split temporary exports |
| Time to locate | high-value target found within 2 minutes | random browsing | enforce fixed refinement order |
| Team consistency | similar outputs across members | parameter drift | publish shared parameter profiles |
FAQ
Q1: We indexed successfully, but results are still noisy. Why?
A: Your indexed scope is probably too broad or includes temporary folders. Start smaller, stabilize precision, and only then expand.
Q2: Search is faster now, but reuse is still weak. What should we change?
A: Add a mandatory reuse closure step. Move approved assets into a curated repository within a fixed SLA after retrieval.
Q3: How do we stop parameter chaos across team members?
A: Define scenario-based parameter presets, publish them in your SOP, and audit usage in weekly reviews.
Conclusion and next action
The value of combined image search workflow is not only in finding images, but in finding the right images repeatedly with lower effort. Start with one pilot project, lock indexing and filtering standards, and expand only after your precision and speed metrics improve.
If you are introducing this process to a team, document the workflow as a lightweight playbook and review outcomes every week. With a stable loop in place, the same method can scale from personal libraries to cross-department repositories.