External Hard Drive Photo Search: Offline Indexing & Fast Preview
When a large external drive holds years of photos, design assets, and screenshots, finding one image can feel impossible. External hard drive photo search becomes slow when you rely on file names, random folders, and full-resolution previews. The fix is not “browse harder,” but to build a stable offline index and use a fast preview flow that keeps results readable.
This tutorial provides a repeatable workflow: build a clean offline index, pick the right search entry, tighten results, and preview fast without freezing. It is designed for Windows workflows and teams that need to reuse assets quickly.
Why external hard drive photo search feels slow
Speed issues usually come from structure, not just hardware:
- Scattered paths: multiple drives and legacy project folders make scope selection slow.
- Noisy indexing: indexing everything at once adds duplicates and low-value files.
- Preview bottlenecks: loading full-size images kills the screening rhythm.
To make external hard drive photo search fast, you must treat images as searchable content and control scope, results, and previews from the start.
Step 1: Build an offline index by layers
Indexing everything at once is the fastest way to slow everything down. Start small and create layers, then expand. For setup details, refer to First-time setup and Gallery management.
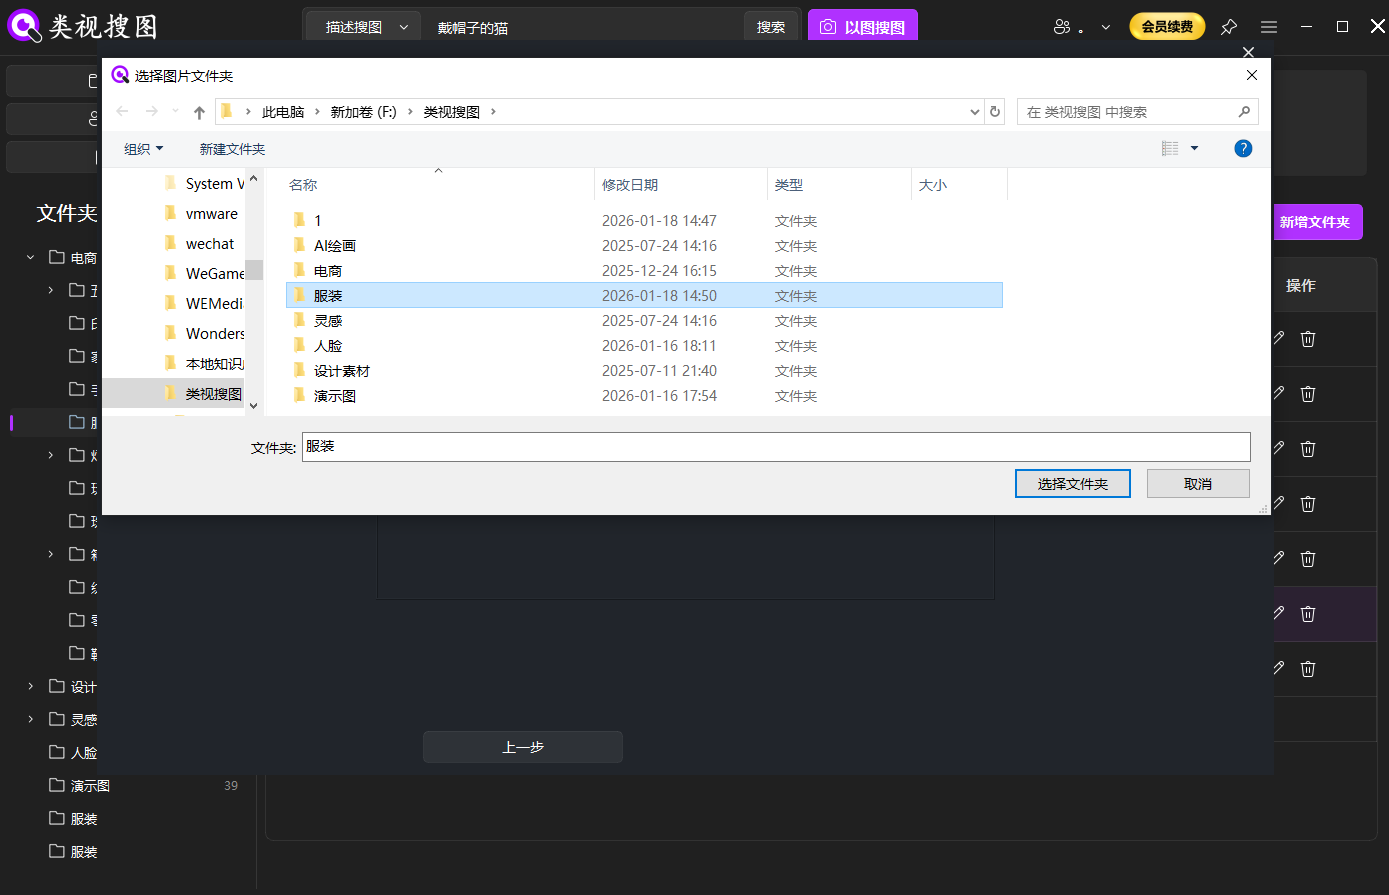 Caption: Start with high-frequency folders so external hard drive photo search stays fast and stable.
A practical layer plan:
- High-frequency library: current projects, active albums, or daily assets.
- Curated library: best versions you expect to reuse.
- Archive library: older or low-frequency material, indexed later.
This keeps 80% of searches inside the high-frequency layer while the archive remains optional.
Step 2: Start with a reference image whenever possible
The fastest entry for external hard drive photo search is reverse image search. If you have a reference image, use it. If you do not, begin with a short semantic description or OCR keywords, then refine.
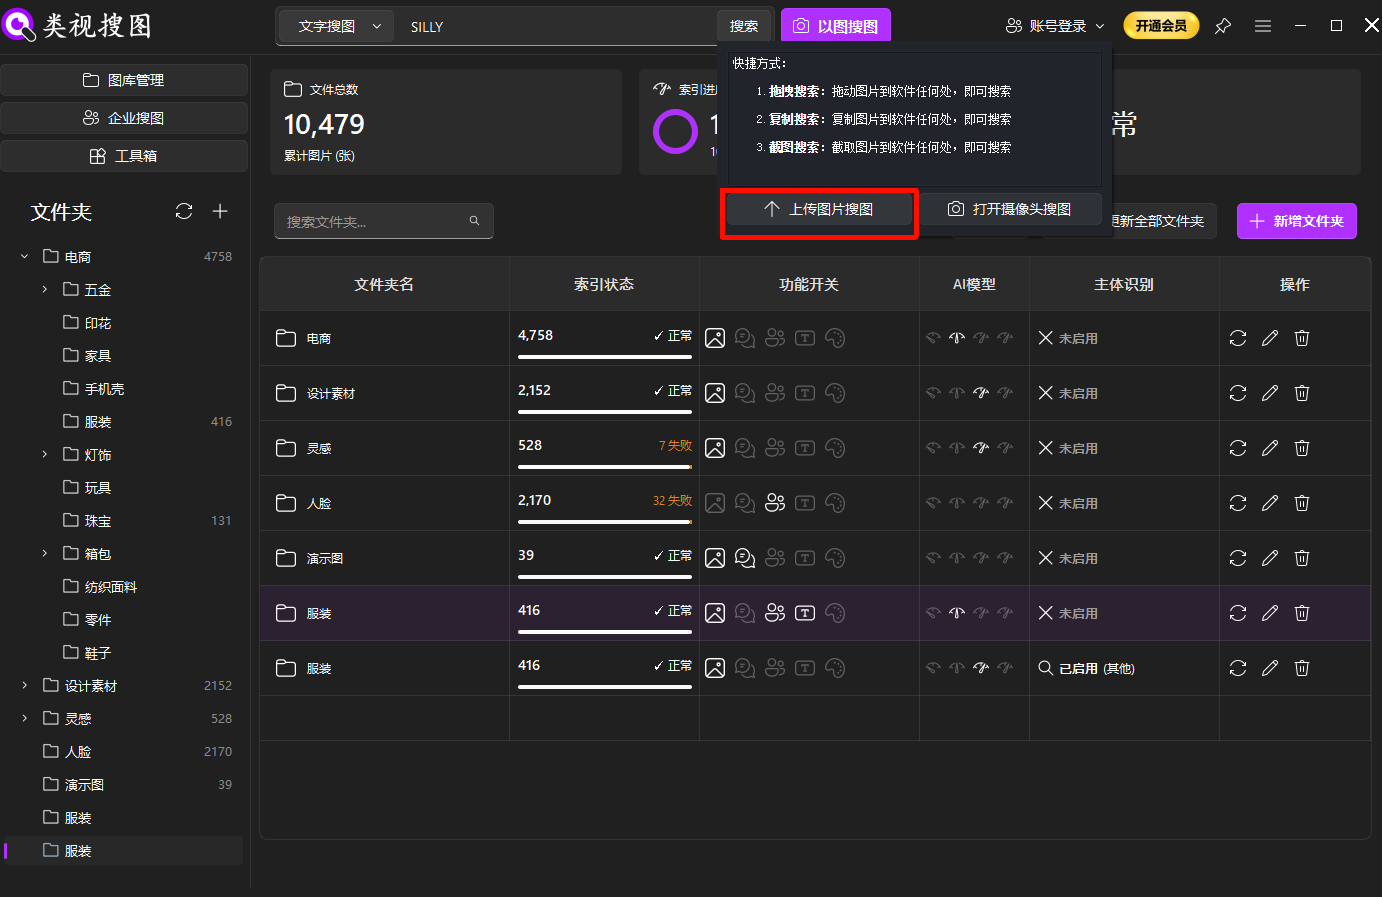 Caption: A single reference image launches external hard drive photo search faster than browsing folders.
Reference image tips:
- Pick a clear subject with complete edges.
- Use higher resolution when possible.
- For screenshots, prefer versions with readable text.
If you only remember “what it looks like,” start with a description and then switch to image search to tighten results.
Step 3: Tighten results with similarity + folder filters
Result pages become useful only after you narrow the list. The best sequence is: increase similarity → filter folders → loosen similarity to recover variants.
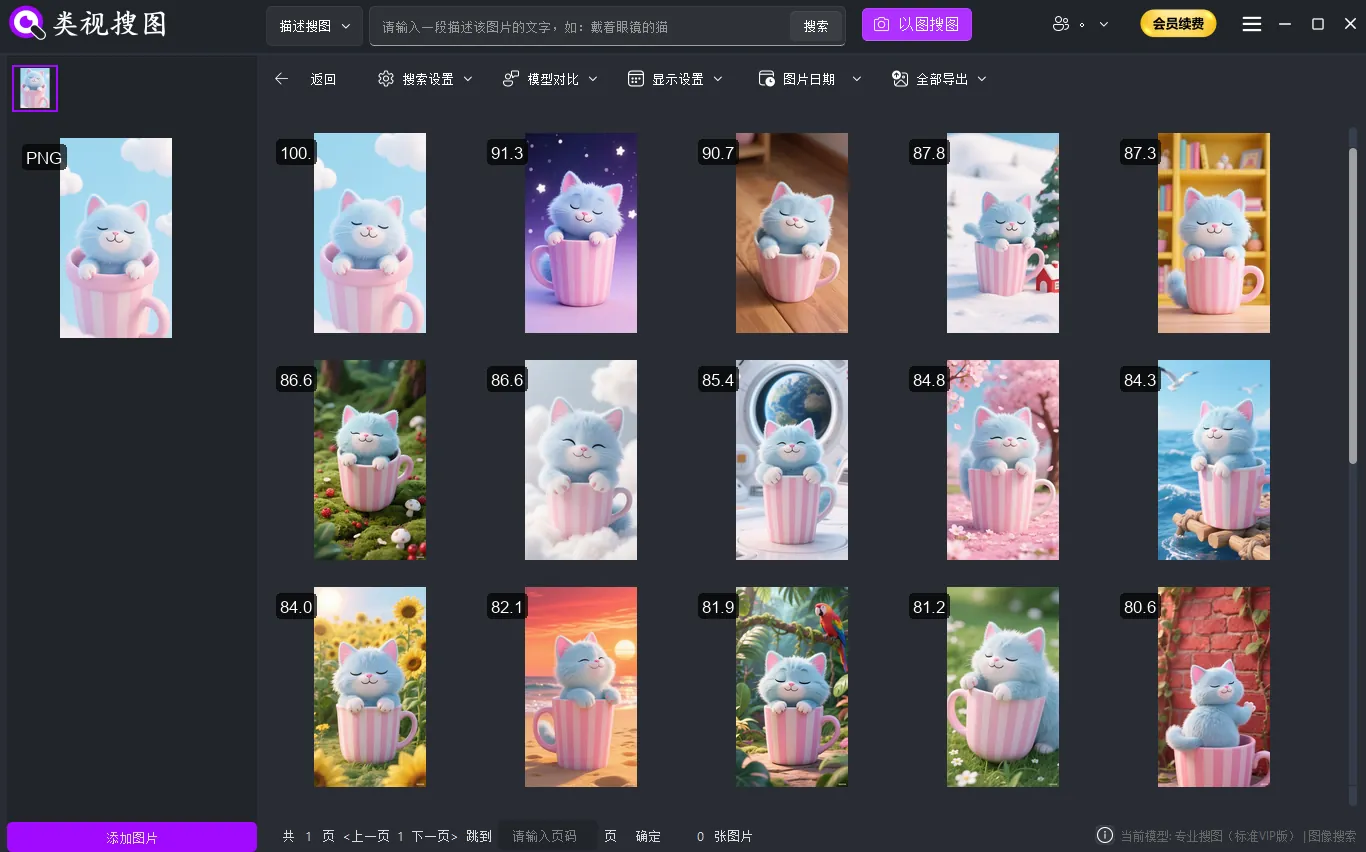 Caption: Tighten first, then filter—external hard drive photo search becomes actionable.
Recommended screening rhythm:
- Lock the top 3–5 closest matches first.
- Filter by folder to focus on the curated or project library.
- Loosen similarity to include alternate angles or lighting versions.
This avoids endless scrolling and keeps the search inside a usable set.
Step 4: Fast preview tactics that keep momentum
The biggest slowdown is not search—it is preview. External hard drive photo search stays fast when you treat preview as a filter step, not a browsing habit. Screen with thumbnails first, then open only the finalists.
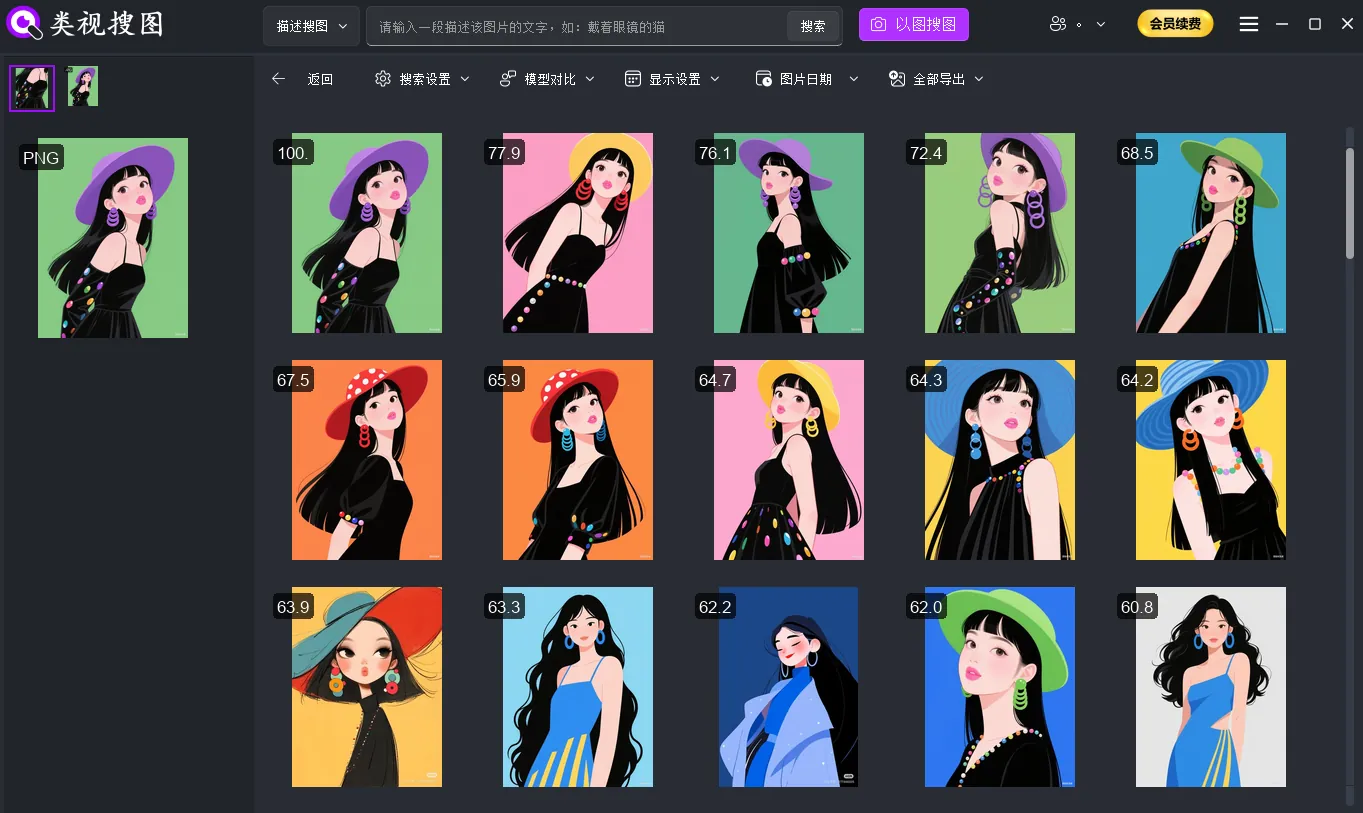 Caption: Thumbnail-first screening keeps external hard drive photo search responsive.
Fast preview checklist:
- Thumbnail-first: scan grids before opening full size.
- Fixed order: check composition, then clarity, then lighting.
- Open after filtering: open full size only after folder filtering.
Once you find a hit, jump to the source folder and decide whether it belongs in your curated library.
Common mistakes and how to avoid them
- Indexing the entire drive at once: results become noisy and slow.
- Skipping similarity tightening: you end up scrolling forever.
- Opening full-size previews too early: preview lag kills speed.
- No reuse workflow: if you never curate, the next search is slow again.
If results are empty, confirm the target folder is indexed and indexing has completed. If results are too wide, shrink the index scope temporarily.
Execution checklist for a repeatable workflow
- Index 1–3 high-frequency folders first.
- Start with a reference image and tighten by similarity.
- Filter folders to stay inside curated or project libraries.
- Use thumbnails for screening, then open full-size for finalists.
- Save the best version into a curated library for reuse.
Conclusion and next step
To speed up external hard drive photo search, the winning flow is: offline indexing → image search entry → result tightening → fast preview → reuse archive. Once this loop is stable, searching becomes a predictable workflow instead of a time sink.
Ready to try it? Download and start with a high-frequency folder today: Download.